Stonehenge exercise

For our first task, we were given a picture of a stonehenge and one of a stormy sky. The task was to merge the two images into one using Photoshop.
To cut out the stonehenge I used the polygonal lasso tool, which allowed me to keep the parts I wanted from the original stonehenge imagine.

Afterwards, I dragged the picture of the stormy sky onto the same window as the stonehenge and placed it as a bottom layer.
Lastly, I transformed the image of the stormy sky to make it fit better with the stonehenge. Below you will see the final product.

Animal hybrids

For this assignment we had to create two animal hybrids using Photoshop.
I decided to mix a rhino and a snail for my first hybrid. I cropped the rhino's head with the polygonal lasso tool and flipped it over so it would face the same way as the snail.

I placed the rhino head over the snail's head, modified the color balance of both images to make them fit better and used the blur and smudge tools to have them blend.
As a last step I removed the snail's eyes using the spot healing brush tool.


My second hybrid is a mix between a seal and a lioness.
Like for my first hybrid, I cropped the lioness's head using the polygonal lasso tool and placed it over the seal's head.

To make it look more realistic, I modified the color balance, brightness and contrast of the head.

Apocalyptic building


Green screen


This was a simple task for us to learn how to work with a green screen on Photoshop. We used "Color range", under the "Select" menu.
More Felled Trees on Woldgate (David Hockney, 2008)
For this assignment, we have been asked to choose one of the following 3 artists David Hockney, Alexander Rodchenko, John Stezaker and comment on their work. I chose David Hockney mainly due to the colour palettes he uses in his art pieces.
As you can observe, his oil and digital paintings portray nature landscapes and buildings, sometimes bringing them together in one illustration, other times keeping them separated. His style is simple, sometimes minimalistic and somewhat similar to Vincent Van Gogh’s. His use of bright, really saturated colours gives his works an out-of-this-world sensation, a good example being the purple tree trunk and leaves in the imagine shown.
When I look at this works, I am always under the impression that they present fantasy worlds, much like Tolkien’s Middle Earth, Lewis Carroll’s Wonderland or one of George Lucas’s colorful alien planets, such as Felucia.

Temple


For our first Maya session we had to model a simple temple. I chose to come up with simple renders on top of that, using the standard surface as a material and a simple Physical Sky light.
Spaceship
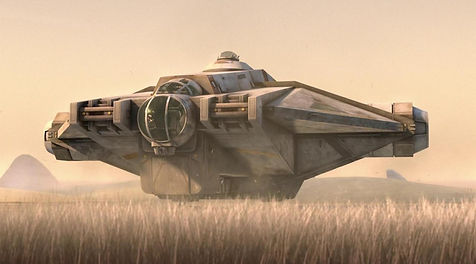
One of our Maya tasks consisted in moldeling a spaceship. Since I wanted to challenge myself, I wanted to try to recreate a very rough model of one of the famous Star Wars spaceships, The Ghost, which appeared in the TV show Star Wars: Rebels, alongside ocassional appearances on the movies Star Wars: Rogue One and Star Wars: The Rise of Skywalker. The total work time on this reached about 5 to 6 hours.


Here I have attached one of the many refecrence pictures I have used for my Maya build.
Maya practice


In addition to the usual tasks, we had to model 2 objects for practice. I chose to create an old, wooden wheelbarrow and a more intricated candle holder.


Wine glass

We were tasked to create a wine glass using the CV Curve Tool and Revolve. The glass texture was created by me, just by playing around with different sliders, including the weight one (found in transmission) and the roughness one (found in specular), until it looked good. The wooden texture is one I have found on the internet, as is the HDRI imagine used for the sky dome light.
Mug

Fake News


In order to create this fake news edit, I used multiple images and my newly acquired photo-editing skills.
Bellow I will attach the photos I have used for this assignment.


James Bond gadget
For my James Bond gadget, I decided to design and model what looks like a simple mirror, but can display holograms.


I created the hologram rays shader in hypershade, using an U ramp. For the object, I created another similar shader, using UV ramp instead, to give it more texture than the rays. One important step in creating this effect was making sure that the objects to which the shaders were applied to were not opaque.

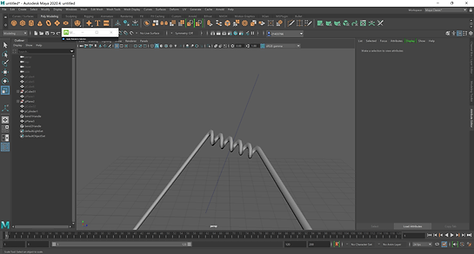
Distort exercises
We learned about the distortion feature in Maya, specifically about the nonlinear distortions you can make: bend, squash, sine, twist, wave and flare.

wave

squash


twist

sine

flare

bend
Booleans


remesh

retopologise

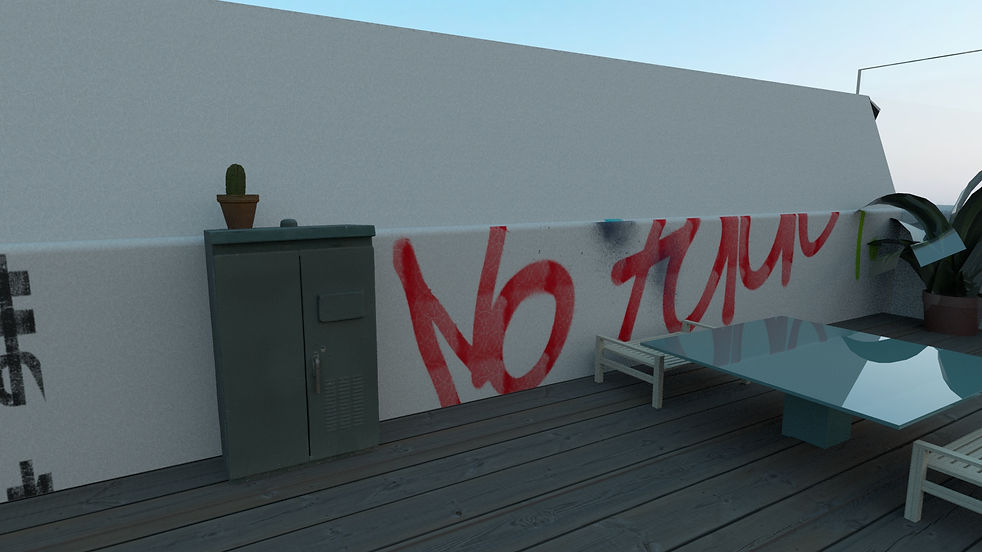
decking
3D textures


For this exercise I've created this rust texture using a noise 3d texture from Maya.
New York rooftop


Time Leap
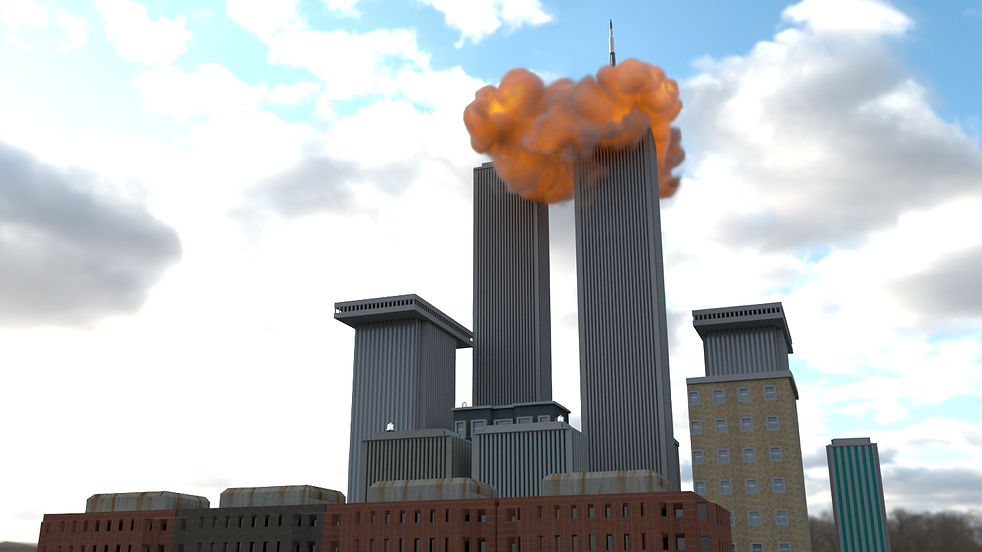
For our last assignment of the semester, we had to model an event or environment as historically accurate as possible. I have chosen to model the attack on the twin towers on 9/11 2001 and some surrounding buildings.


I created the explosion simulation in Maya using Fluids and nParticle